Nếu bạn là một trong những tín đồ yêu thích thể loại game kinh dị, đặc biệt là những trò chơi liên quan đến việc khám phá và điều tra các hiện tượng siêu nhiên, thì chắc chắn rằng bạn đã từng nghe đến phasmophobia download. Đây là một tựa game nổi bật không chỉ bởi cách chơi hấp dẫn mà còn nhờ vào những cập nhật thường xuyên mang lại trải nghiệm thú vị cho người chơi. Tìm hiểu sâu hơn về chủ đề này cùng Godmodeuser.com qua bài viết sau.
Giới thiệu về Phasmophobia
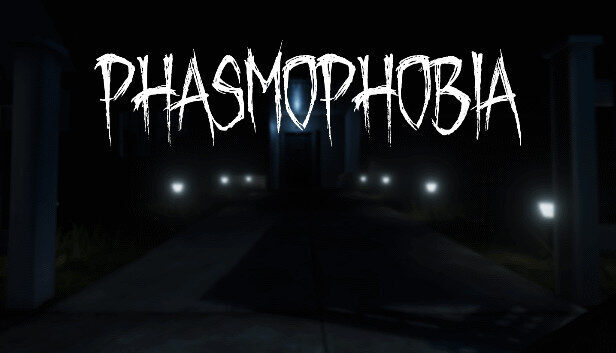
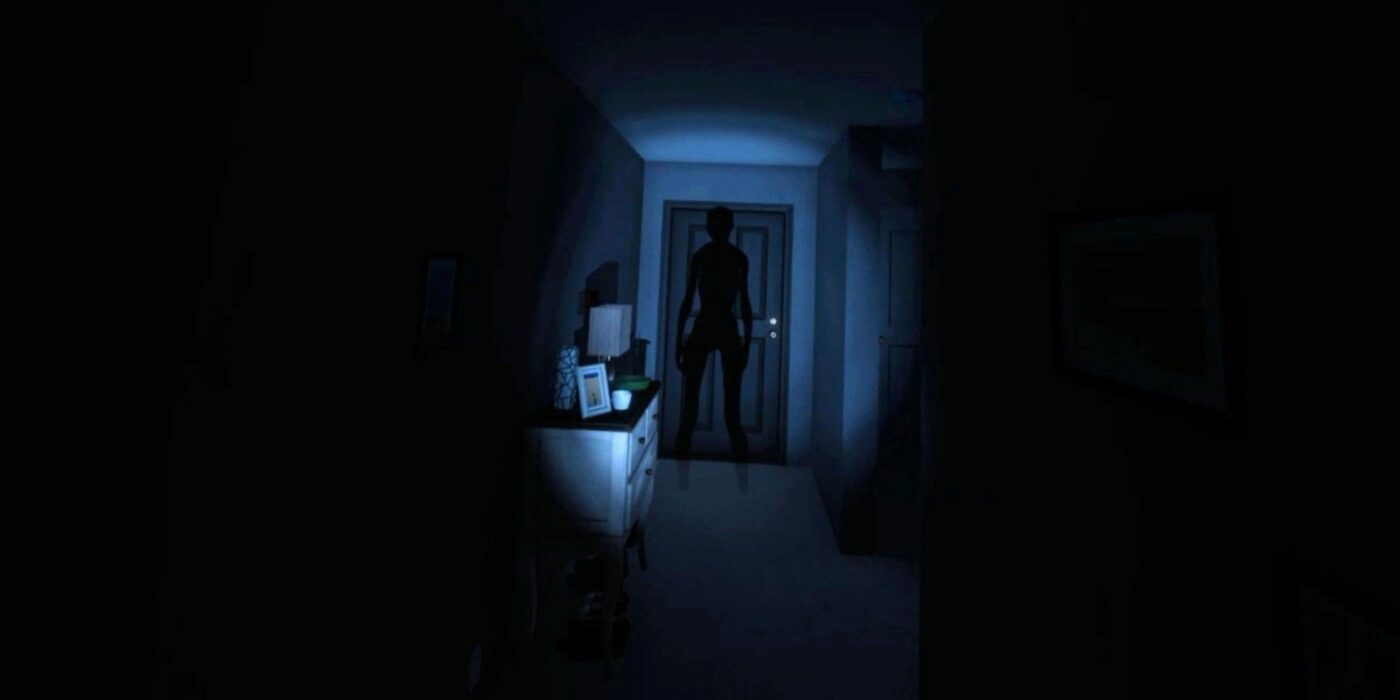
Phasmophobia là một trò chơi điện tử thuộc thể loại kinh dị hợp tác, được phát triển và phát hành bởi Kinetic Games. Ra mắt lần đầu vào năm 2020, tựa game nhanh chóng thu hút sự chú ý của cộng đồng game thủ nhờ vào lối chơi độc đáo và tính năng tương tác với môi trường. Người chơi sẽ vào vai những thám tử siêu nhiên, có nhiệm vụ điều tra các hiện tượng huyền bí xảy ra trong một ngôi nhà bị ám.
Chắc hẳn, nhiều người trong chúng ta đã từng cảm thấy hồi hộp khi nghe đến những câu chuyện về ma quái. Phasmophobia như một món ăn tinh thần hoàn hảo cho những ai muốn thử sức mình vượt qua nỗi sợ hãi ấy. Trò chơi hỗ trợ cả chế độ chơi đơn và chơi nhóm, cho phép người chơi hòa nhập vào không khí căng thẳng của cuộc điều tra.
Gameplay hấp dẫn
Khi tham gia vào trò chơi, bạn sẽ phối hợp cùng những người chơi khác để tìm kiếm bằng chứng về sự tồn tại của ma quái. Bạn sẽ cần sử dụng nhiều loại thiết bị như nhiệt kế, micro, camera và các công cụ khác để phát hiện và ghi lại hoạt động của những linh hồn. Một điểm độc đáo của Phasmophobia là khả năng nhận diện giọng nói, giúp bạn giao tiếp với các thế lực siêu nhiên thông qua câu hỏi và khẩu lệnh.
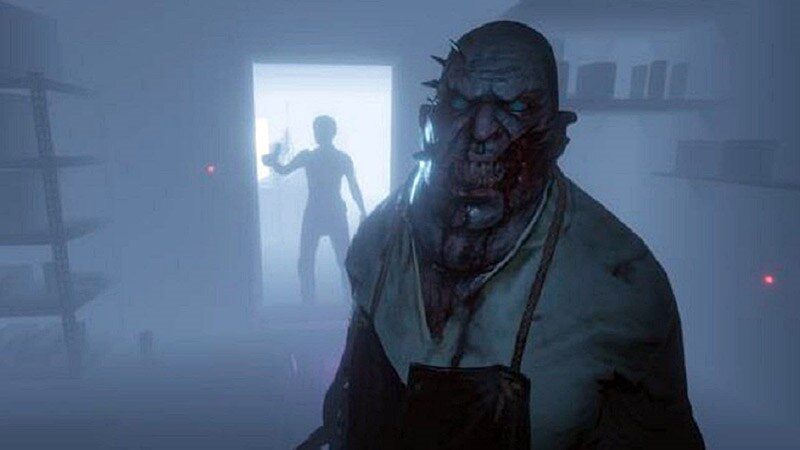
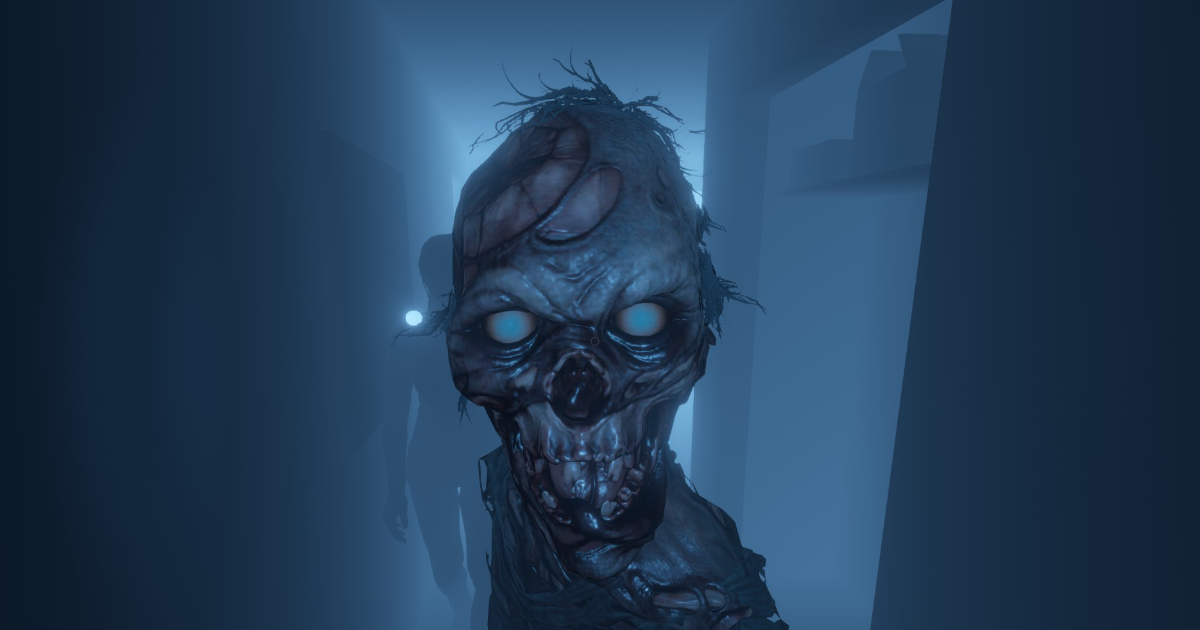
Bên cạnh đó, trò chơi còn mang lại sự đa dạng về các loại ma với những đặc điểm riêng biệt. Điều này không chỉ gia tăng mức độ khó khăn mà còn khiến cho mỗi cuộc điều tra trở nên thú vị và kích thích hơn.
Cập nhật mới nhất của game Phasmophobia
Trải qua nhiều bản cập nhật, Phasmophobia không ngừng cải thiện và mở rộng nội dung để phục vụ nhu cầu ngày càng cao của người chơi. Trong số các phiên bản cập nhật gần đây, phiên bản 0.9.0.0 là một trong những bản cập nhật lớn nhất.
Phasmophobia 0.9.0.0 – Những thay đổi đáng chú ý
Bản cập nhật 0.9.0.0 đã mang lại hàng loạt các thay đổi và nâng cấp quan trọng. Một trong những điểm nổi bật là việc reset toàn bộ tiến trình về Prestige 1 và Level 1 cho tất cả người chơi. Điều này tạo cơ hội cho người chơi có thể bắt đầu lại và khám phá lại những nội dung mới mà trò chơi cung cấp.
Bổ sung nội dung và sửa lỗi
Ngoài việc cập nhật hệ thống trang bị, Phasmophobia 0.9.0.0 còn mang đến các vật phẩm được đổi tên để phù hợp hơn với trải nghiệm người chơi. Ví dụ, “Fingerprints” được đổi thành “Ultraviolet”, hay “Candles Lantern” trở thành “Firelight”. Những thay đổi này không chỉ giúp người chơi dễ nhớ mà còn tạo ra sự thân thuộc hơn khi thao tác và sử dụng các công cụ trong game.
Lịch sử các phiên bản trước đó
Phasmophobia 0.6.3.1 đã giới thiệu tính năng nhận diện giọng nói với hỗ trợ tiếng Tây Ban Nha, đồng thời loại bỏ tiếng Bồ Đào Nha. Điều này cho thấy đội ngũ phát triển luôn chú trọng đến việc phục vụ và mở rộng thị trường người chơi quốc tế.
Trong khi đó, phiên bản 0.5.2.0 mang đến sự cân bằng giữa các loại ma, điều chỉnh điểm yếu và sức mạnh của chúng. Thêm vào đó, nội dung mới như lá bài Tarot và ghim Voodoo Doll đã làm phong phú thêm trải nghiệm cho người chơi.
Hướng dẫn cách tải Phasmophobia
Yêu cầu hệ thống để tải game
Trước khi tiến hành tải game, bạn cần kiểm tra xem máy tính của mình có đủ cấu hình để chạy Phasmophobia hay không. Tựa game này yêu cầu một số thông số kỹ thuật tối thiểu để đảm bảo hoạt động mượt mà.
Hệ điều hành: Windows 10 trở lên.
Bộ vi xử lý: Intel Core i5 hoặc AMD Ryzen 5.
RAM: Tối thiểu 8GB.
Card đồ họa: NVIDIA GTX 970 hoặc AMD Radeon R9 390.
Không gian ổ cứng: Ít nhất 20GB trống.
Ngoài ra, nếu bạn muốn trải nghiệm game ở chế độ VR, bạn sẽ cần một chiếc kính thực tế ảo tương thích để có thể tận hưởng không khí hồi hộp mà Phasmophobia mang lại.
Liên kết tải xuống chính thức
Phasmophobia hiện đang có mặt trên nền tảng Steam, nơi bạn có thể dễ dàng tải game về máy. Để tải xuống, bạn chỉ cần truy cập vào trang web chính thức của Steam và tìm kiếm “Phasmophobia”.
Sau khi tìm thấy, hãy chọn mua game và thực hiện theo hướng dẫn để hoàn tất quá trình tải. Chú ý rằng game không phải là miễn phí, vì vậy bạn sẽ cần chuẩn bị một khoản tiền nhỏ để sở hữu trò chơi này.
Quy trình cài đặt Phasmophobia
Cài đặt trên Windows
Sau khi hoàn tất việc tải game từ Steam, bạn cần mở ứng dụng Steam và truy cập vào thư viện game của mình. Tại đây, tìm kiếm Phasmophobia và chọn ‘Cài đặt’. Quá trình cài đặt sẽ diễn ra tự động và bạn chỉ cần chờ đợi vài phút để game được cài đặt hoàn toàn.
Sau khi cài đặt xong, bạn có thể bắt đầu chơi ngay lập tức bằng cách nhấn vào nút ‘Chơi’. Nếu bạn đã kết nối với bạn bè, bạn có thể mời họ tham gia cùng bạn trong các cuộc phiêu lưu điều tra.
Vấn đề thường gặp khi cài đặt
Mặc dù quá trình cài đặt khá đơn giản, nhưng đôi khi người chơi có thể gặp phải một số vấn đề. Một trong những vấn đề phổ biến nhất là lỗi kết nối Internet, khiến cho việc tải game bị gián đoạn hoặc không thành công.
Nếu bạn gặp phải tình trạng này, hãy kiểm tra lại kết nối Internet của mình và thử tải lại. Ngoài ra, cũng có thể có những lỗi liên quan đến hệ thống, do đó bạn cần đảm bảo rằng máy tính của mình đã đáp ứng các yêu cầu tối thiểu để chạy Phasmophobia.

